How to build a static HTML blog in 10 minutes with squido
Static websites built using Jamstack architecture offer a way to create a modern website with incredible performance, cheap to host, and easy to maintain. You can see move benefits of Static HTML websites here.
Today we will be using squido to build a static HTML blog in less than 10 minutes showing all the steps needed to get going.
Getting started
Things you will need:
- Git installed.
- Node.js installed.
- A text editor, like Visual Studio Code.
Open your Terminal and install squido globally:
# npm i -g https://github.com/mrvautin/squido.git
Speed things up by cloning the example blog Git repository:
# git clone https://github.com/mrvautin/squido-blog-example my-blog
Building
Enter your new blog directory:
# cd my-blog
Build your blog:
Note: The serve command creates a local web server to view your new blog. The -b flag is to build, the -w is to watch for changes and rebuild if needed and the -c flag is to clean old files.
# squido serve -b -w -c
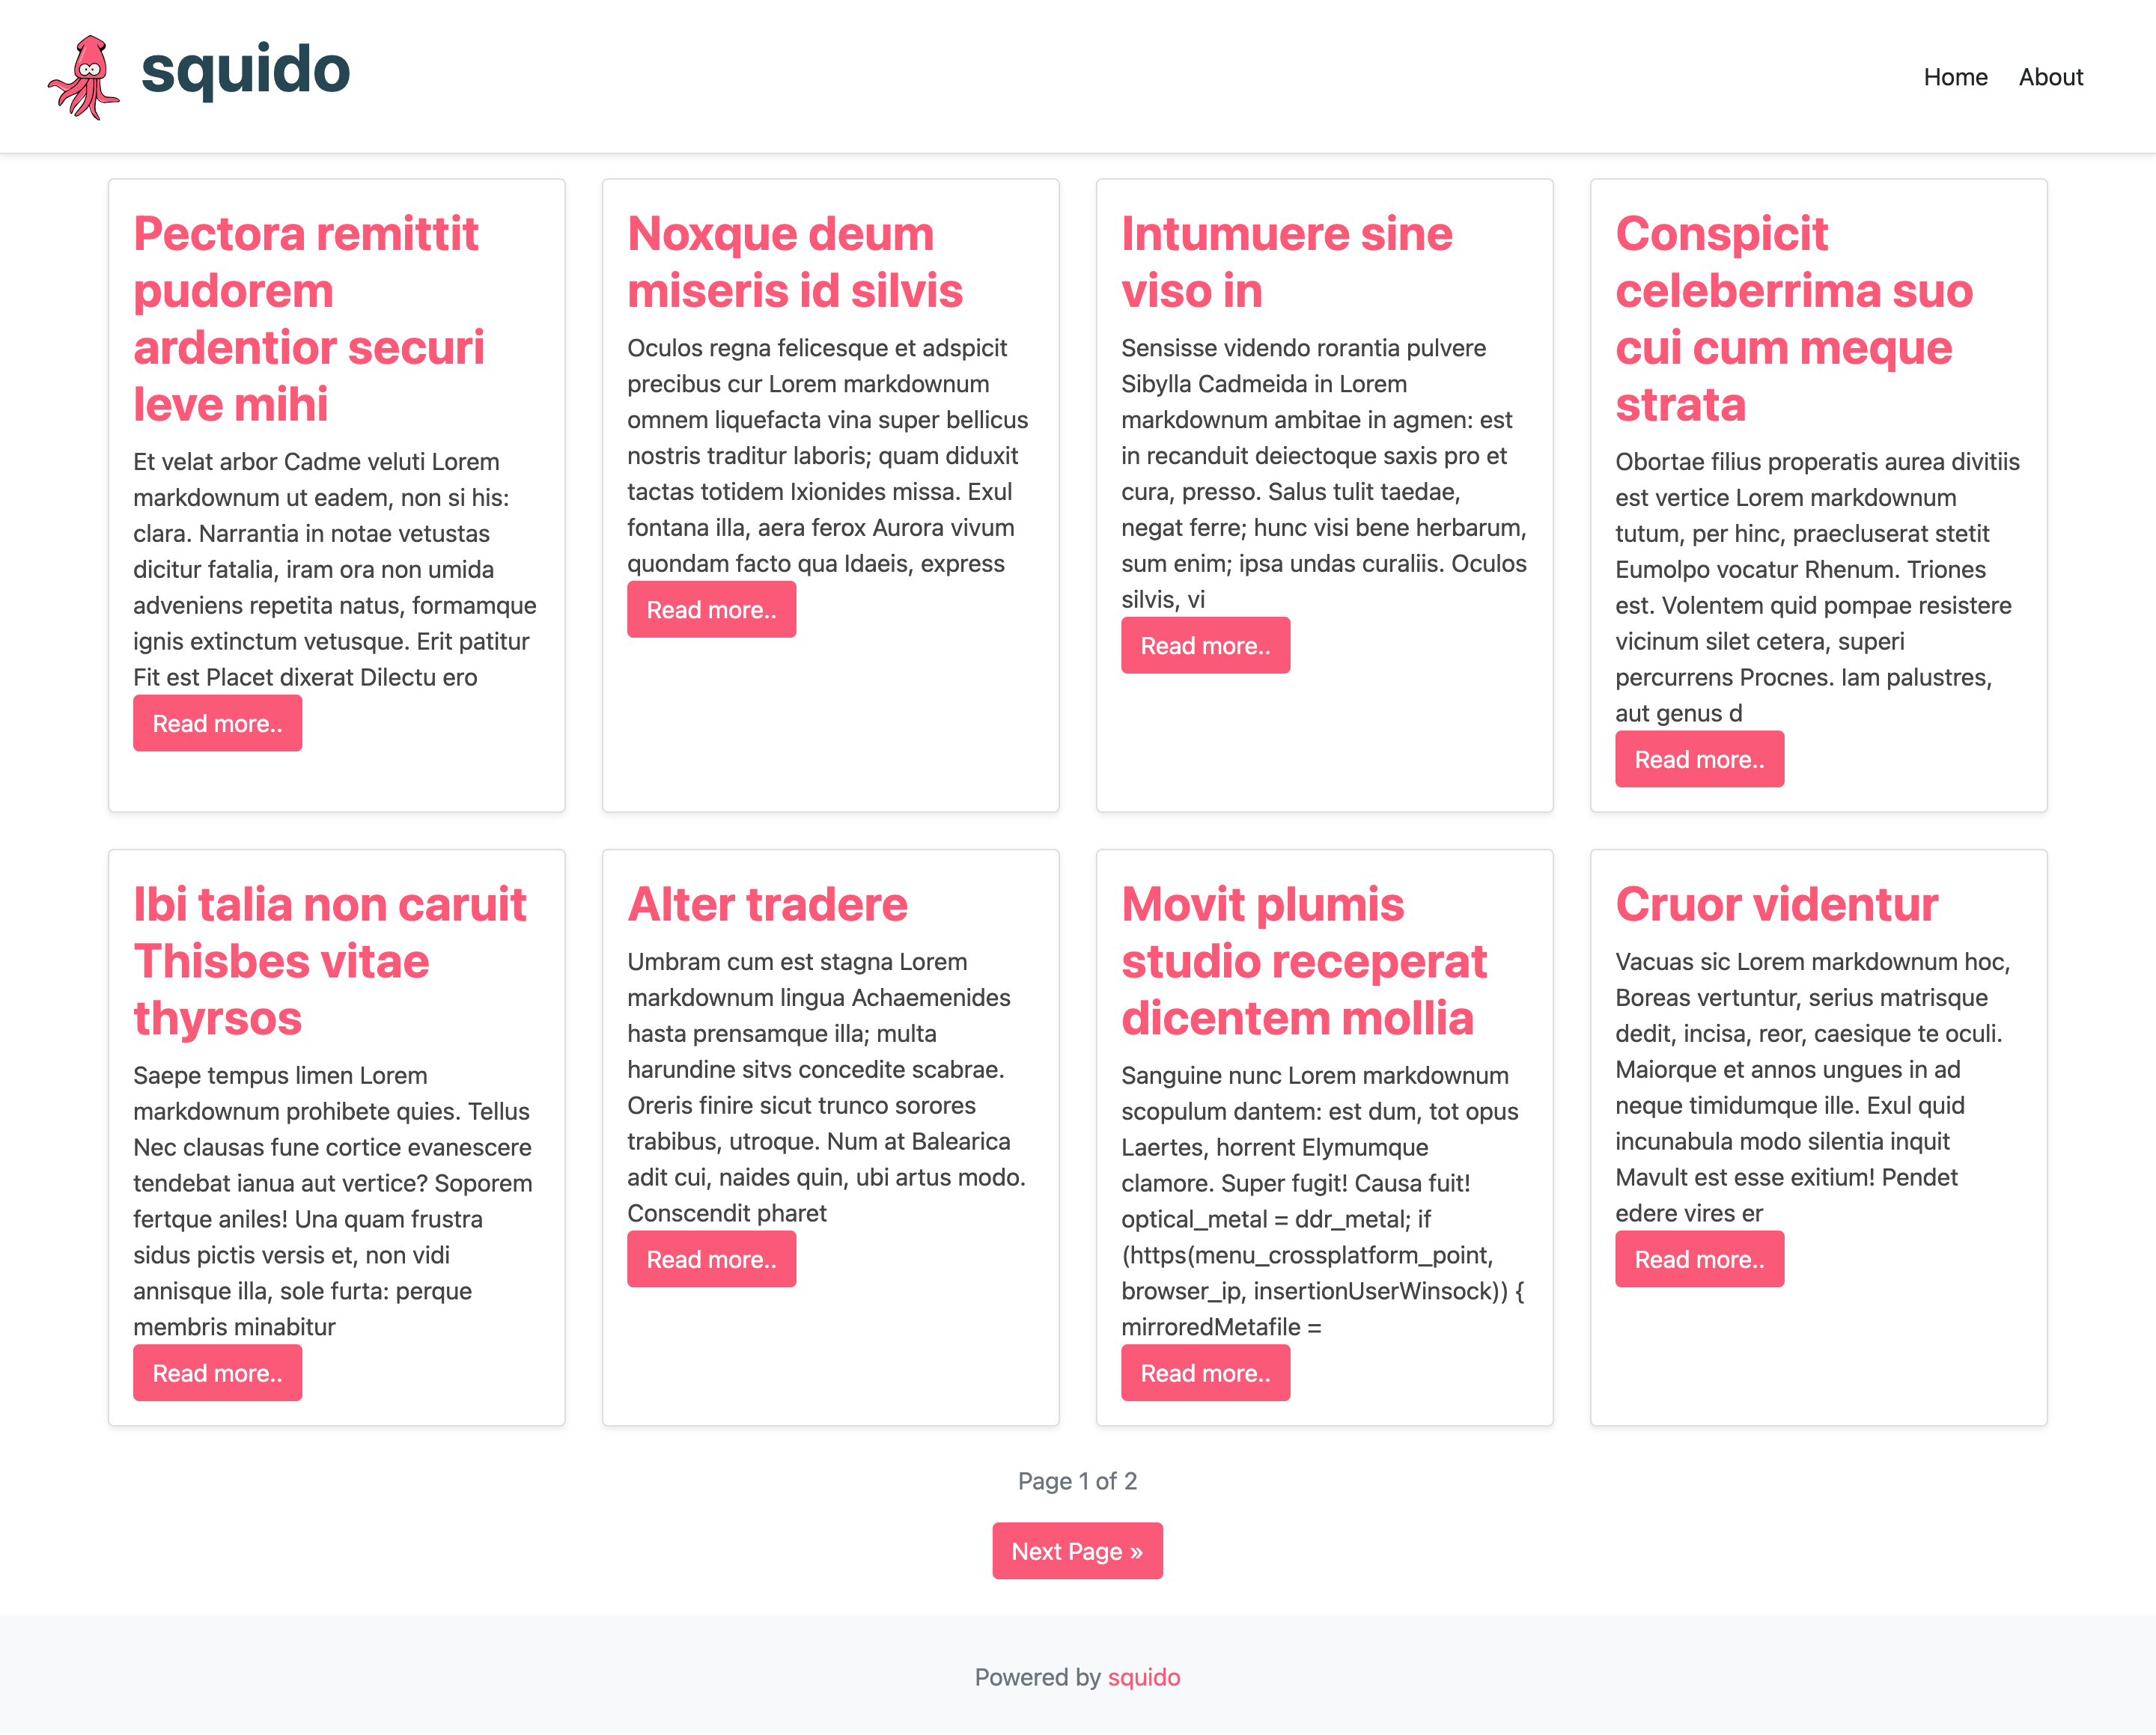
You can now view your blog by opening the following URL in a browser:
http://localhost:4965
You should see:
If you open up your new blog directory in a text editor, you should see:
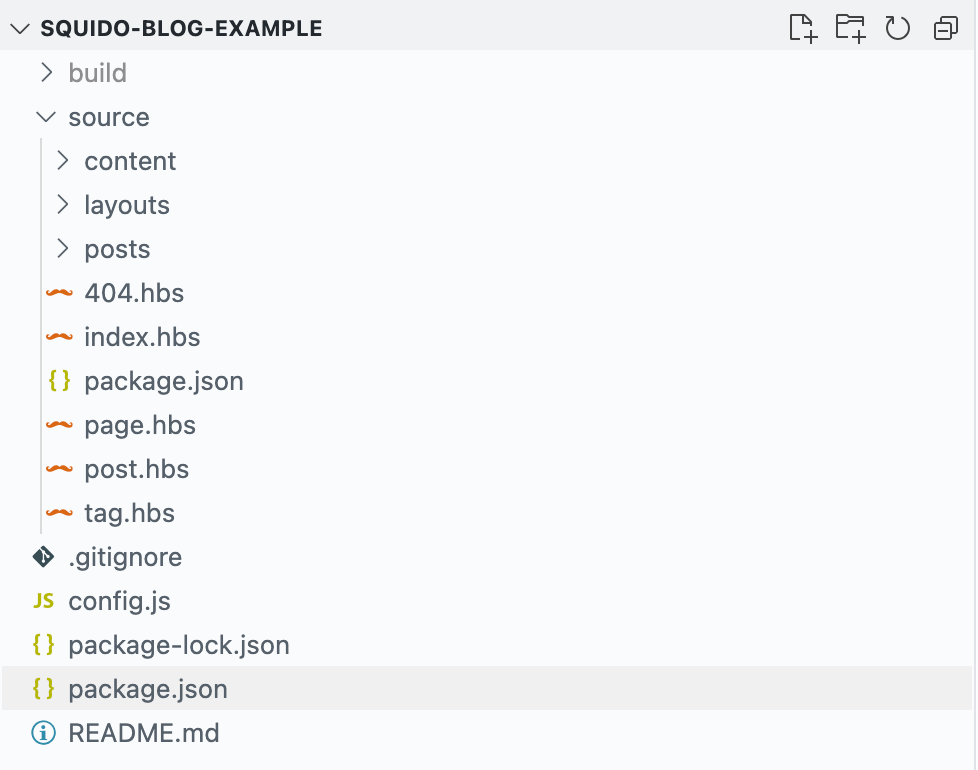
- build: This is the generated directory that will contain your blog HTML files
- source: The actual source files used to generate your blog
- content: Contains the javascript, CSS, and image files for your blog
- layouts: Contains the layout file which has the basic structure
- posts: Contains the markdown files which contain the actual content of your blog posts/pages
- 404.hbs, index.hbs, page.hbs, post.hbs, tag.hbs: Are all template files used to drive the layout of those pages
- config.js: Contains the config of your blog, including name, description, URL, pagination, and more
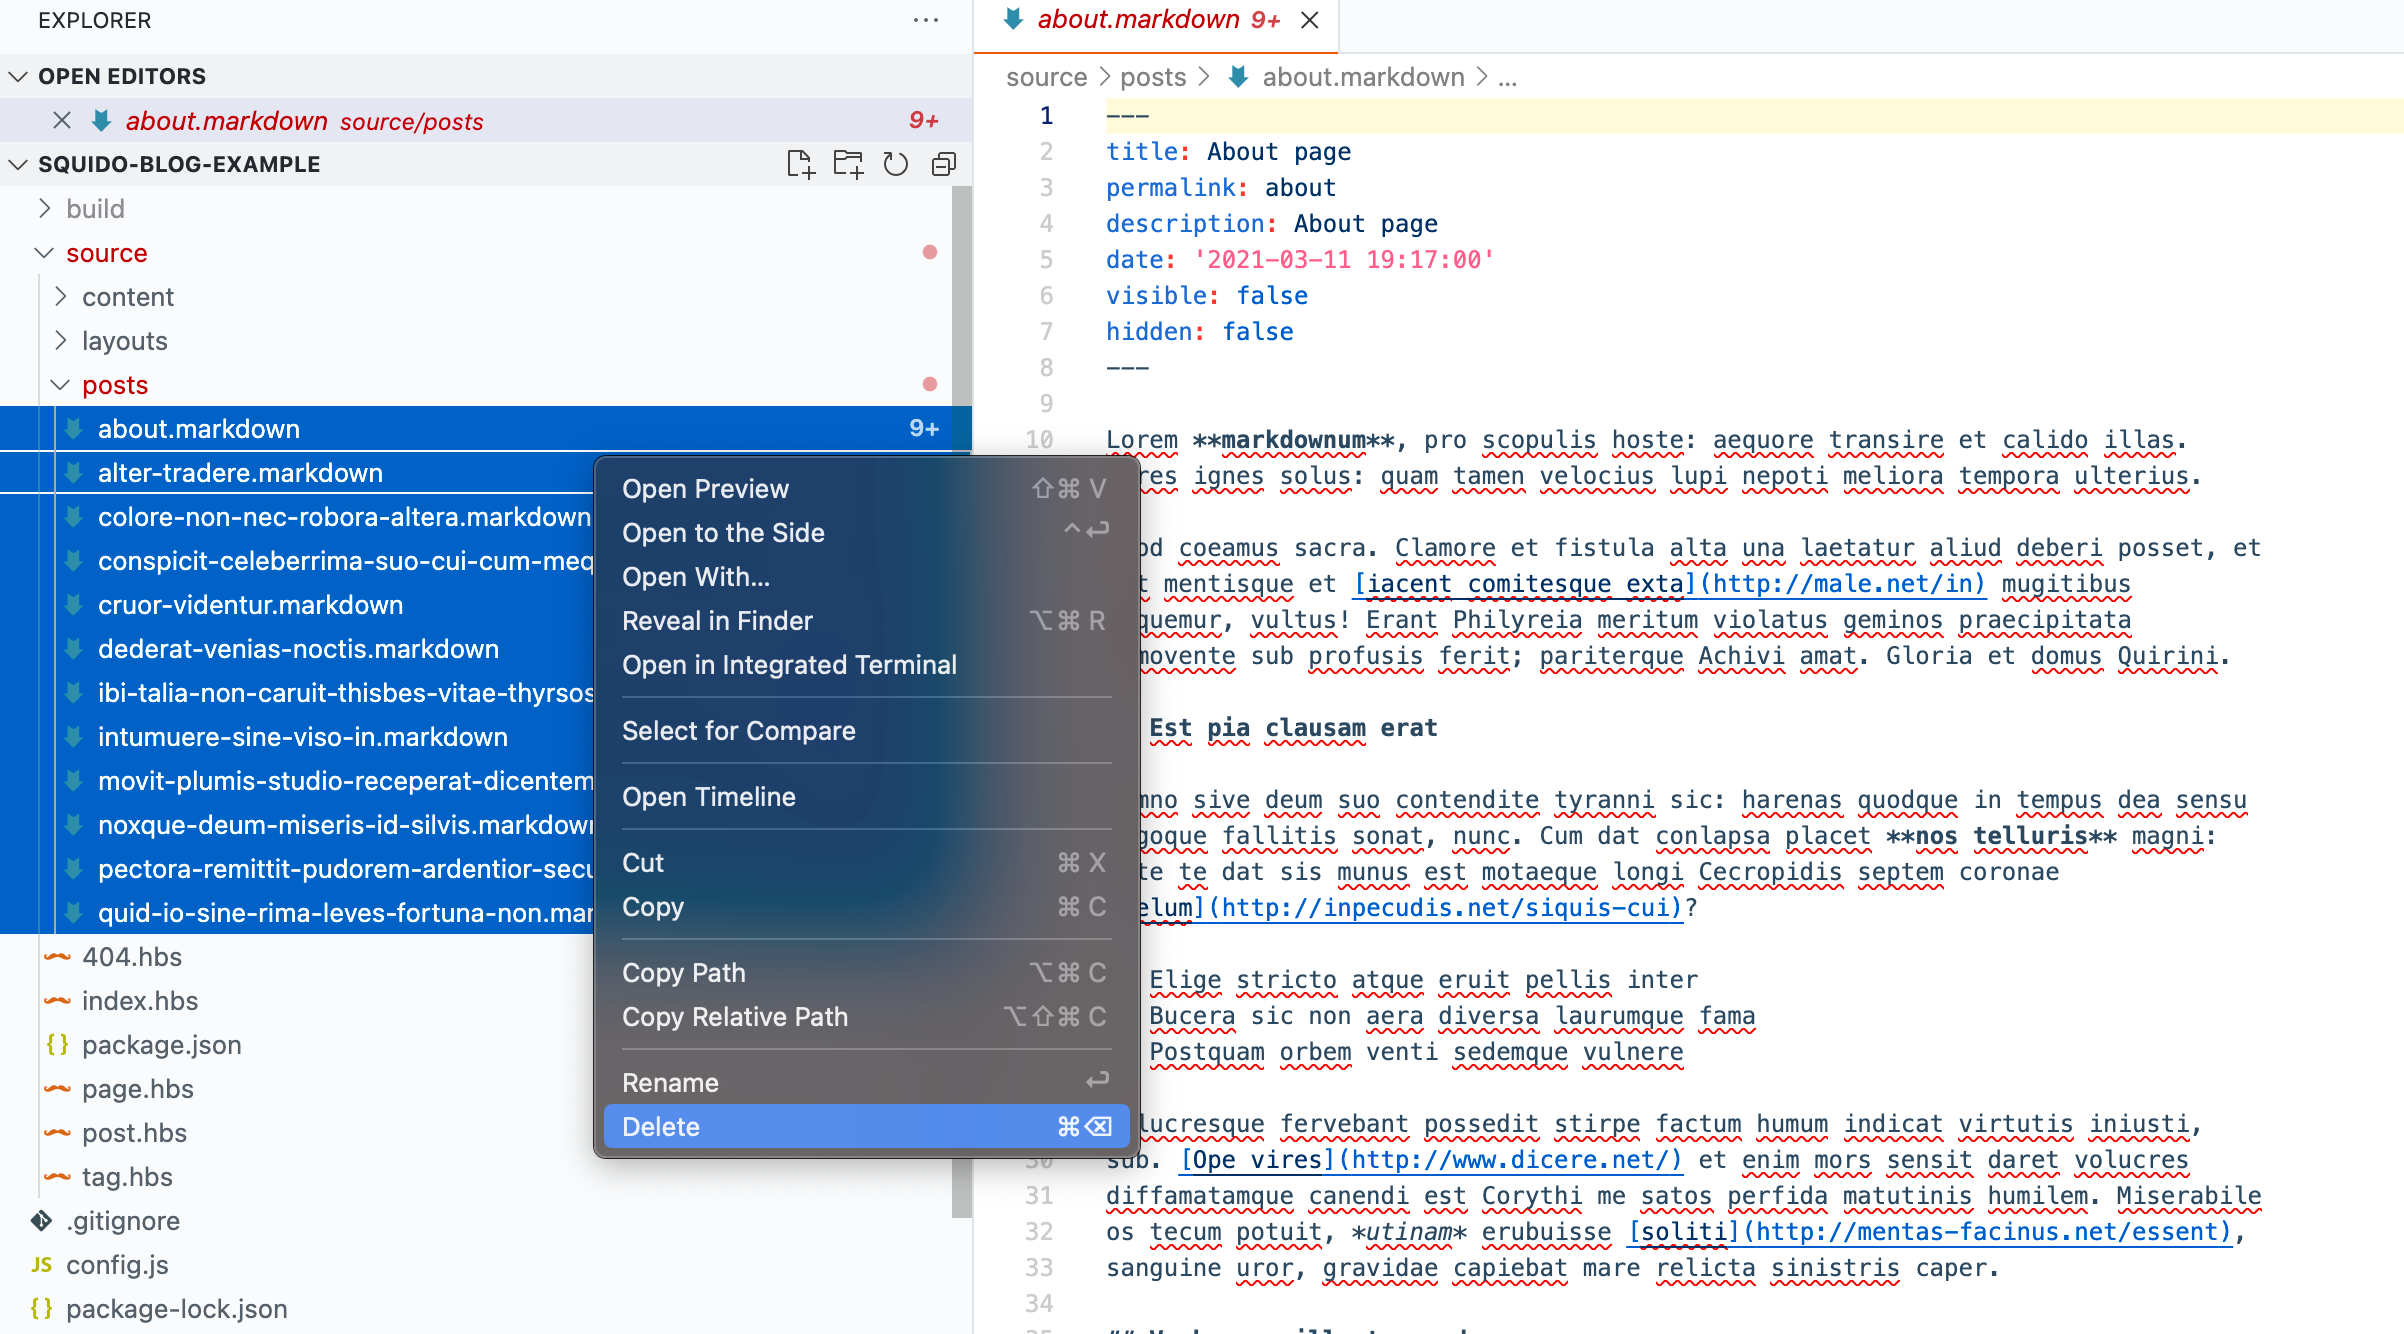
Let's clear out the old lorem ipsum example markdown files from the /source/posts folder by selecting, right-clicking and Delete:
Then create a new file called hello-world.markdown in the /source/posts folder with the following text:
---
title: Hello world
permalink: hello-world
description: Hello world
date: '2021-06-16 19:17:00'
tags:
  - hello
  - world
---

## Hello world
Your blog will automatically rebuild and refreshing your browser will look like this:
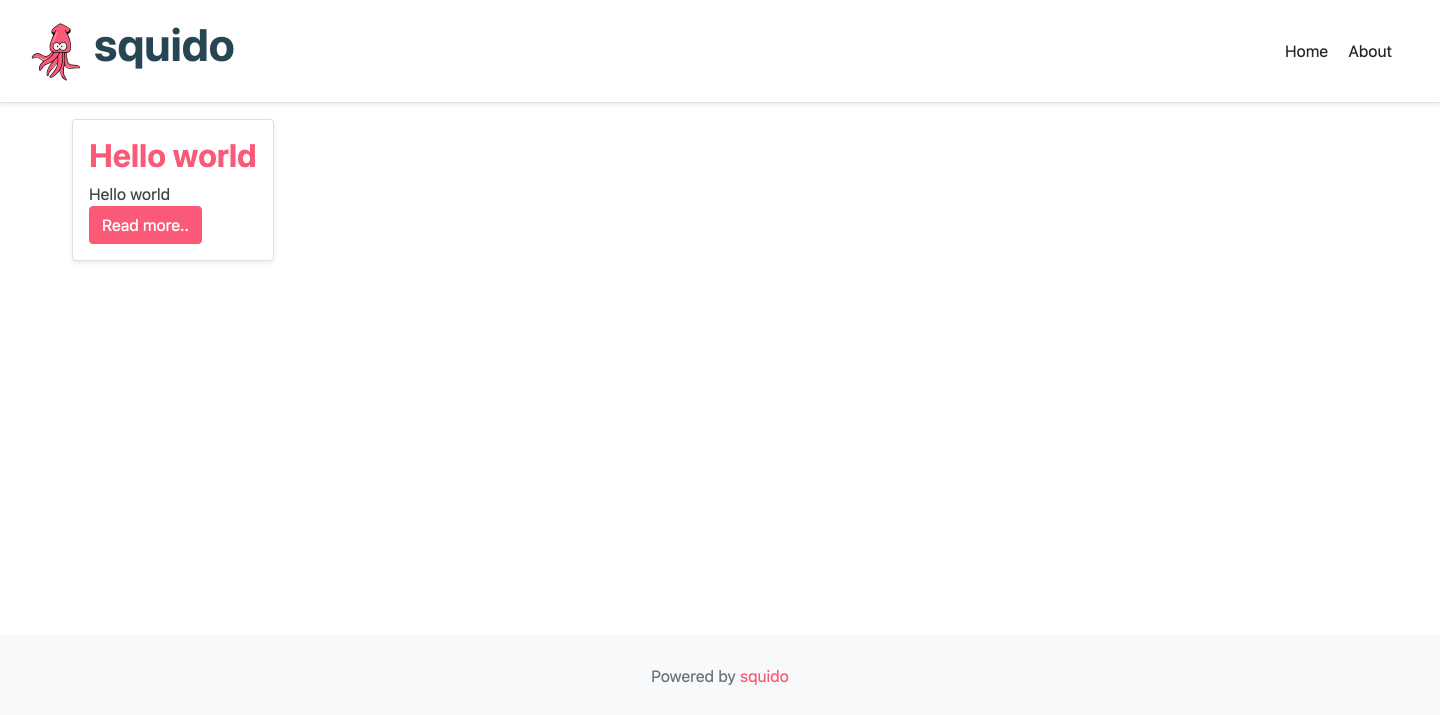
You can now edit the templates with your custom layout, change the logo, add your CSS colors later.
Deployment
Back in your terminal, initialize your local Git repository:
# git init
Create a new Github repository to make deploying your blog even easier: Visit Github.
Jump back into your Terminal and link your new Github repository to your local one. First, run a Git status:
# git status
You will see this:

This shows all our deletions and our new hello-world.markdown file.
Add the changes:
# git add .
Create your first Commit:
# git commit -m "Init"
Change the branch to main:
# git branch -M main
Add your remote Github repository:
# git remote add origin [email protected]:<username>/my-blog.git
Push your changes:
# git push -u origin main
Deploy to Netlify
Netlify is a specialty static website host which will allow you to host your blog for free in a matter of minutes. There is no server management or complicated setup.
After you have created a Netlify account, click the New site from Git button:
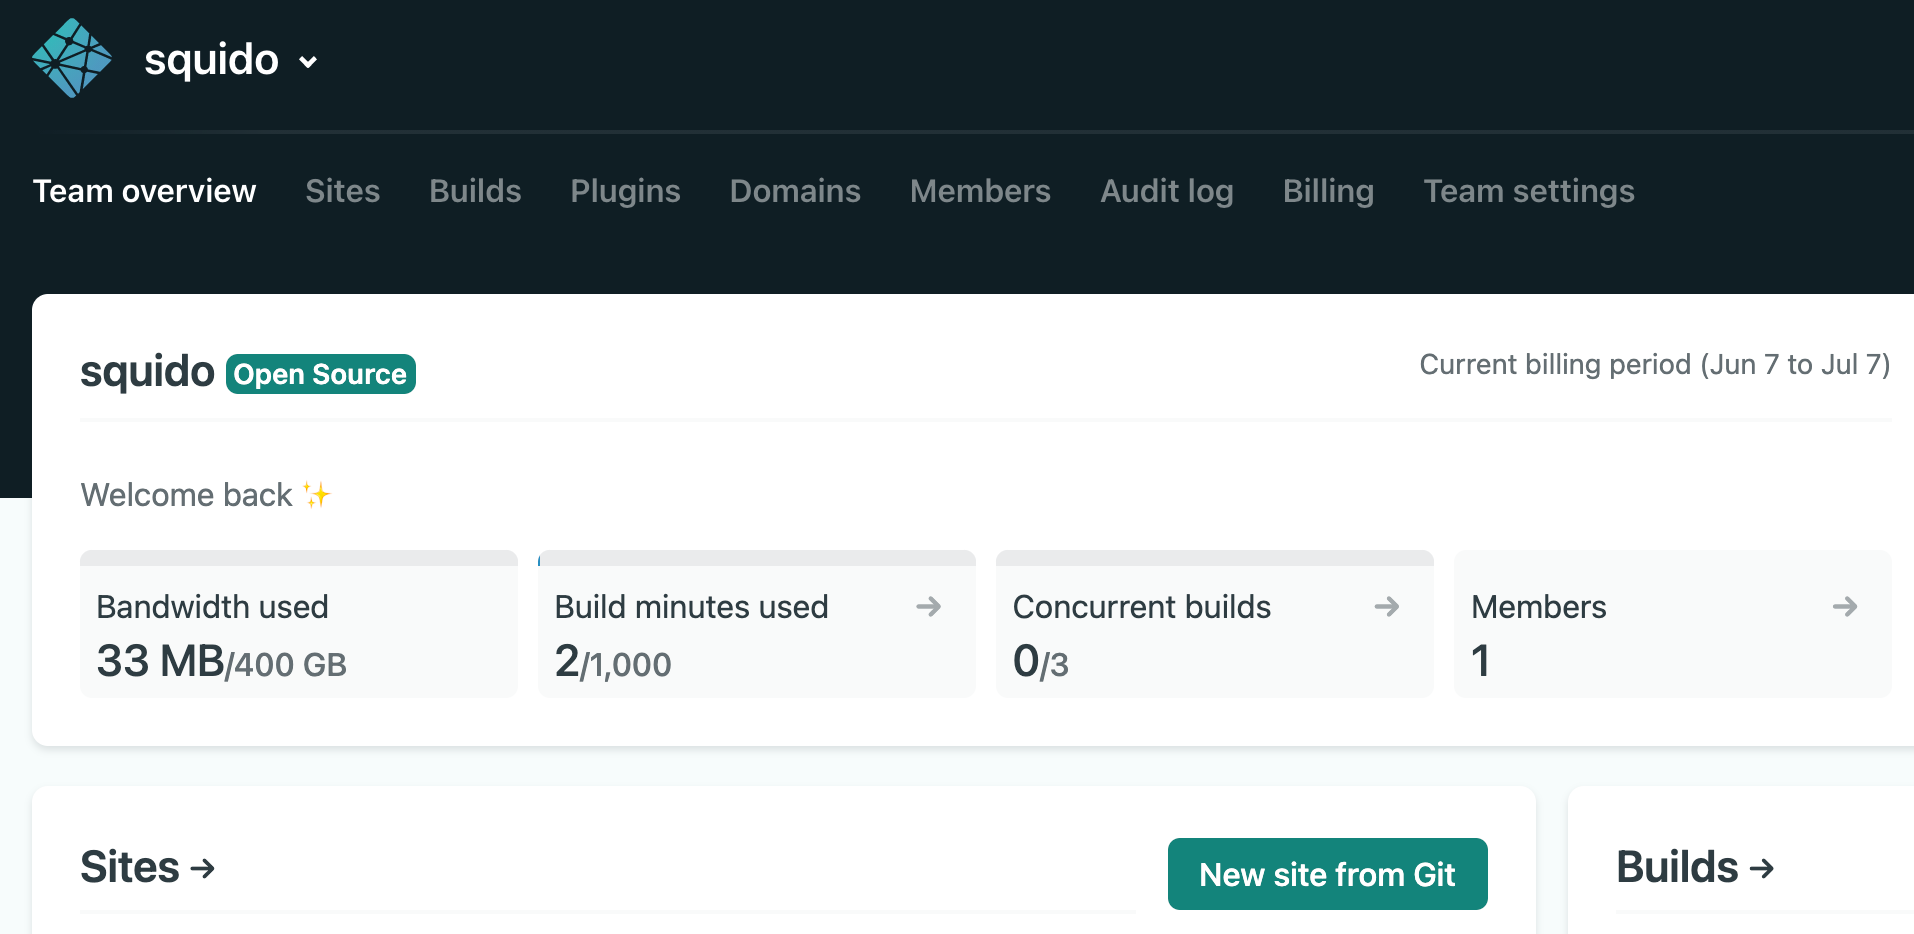
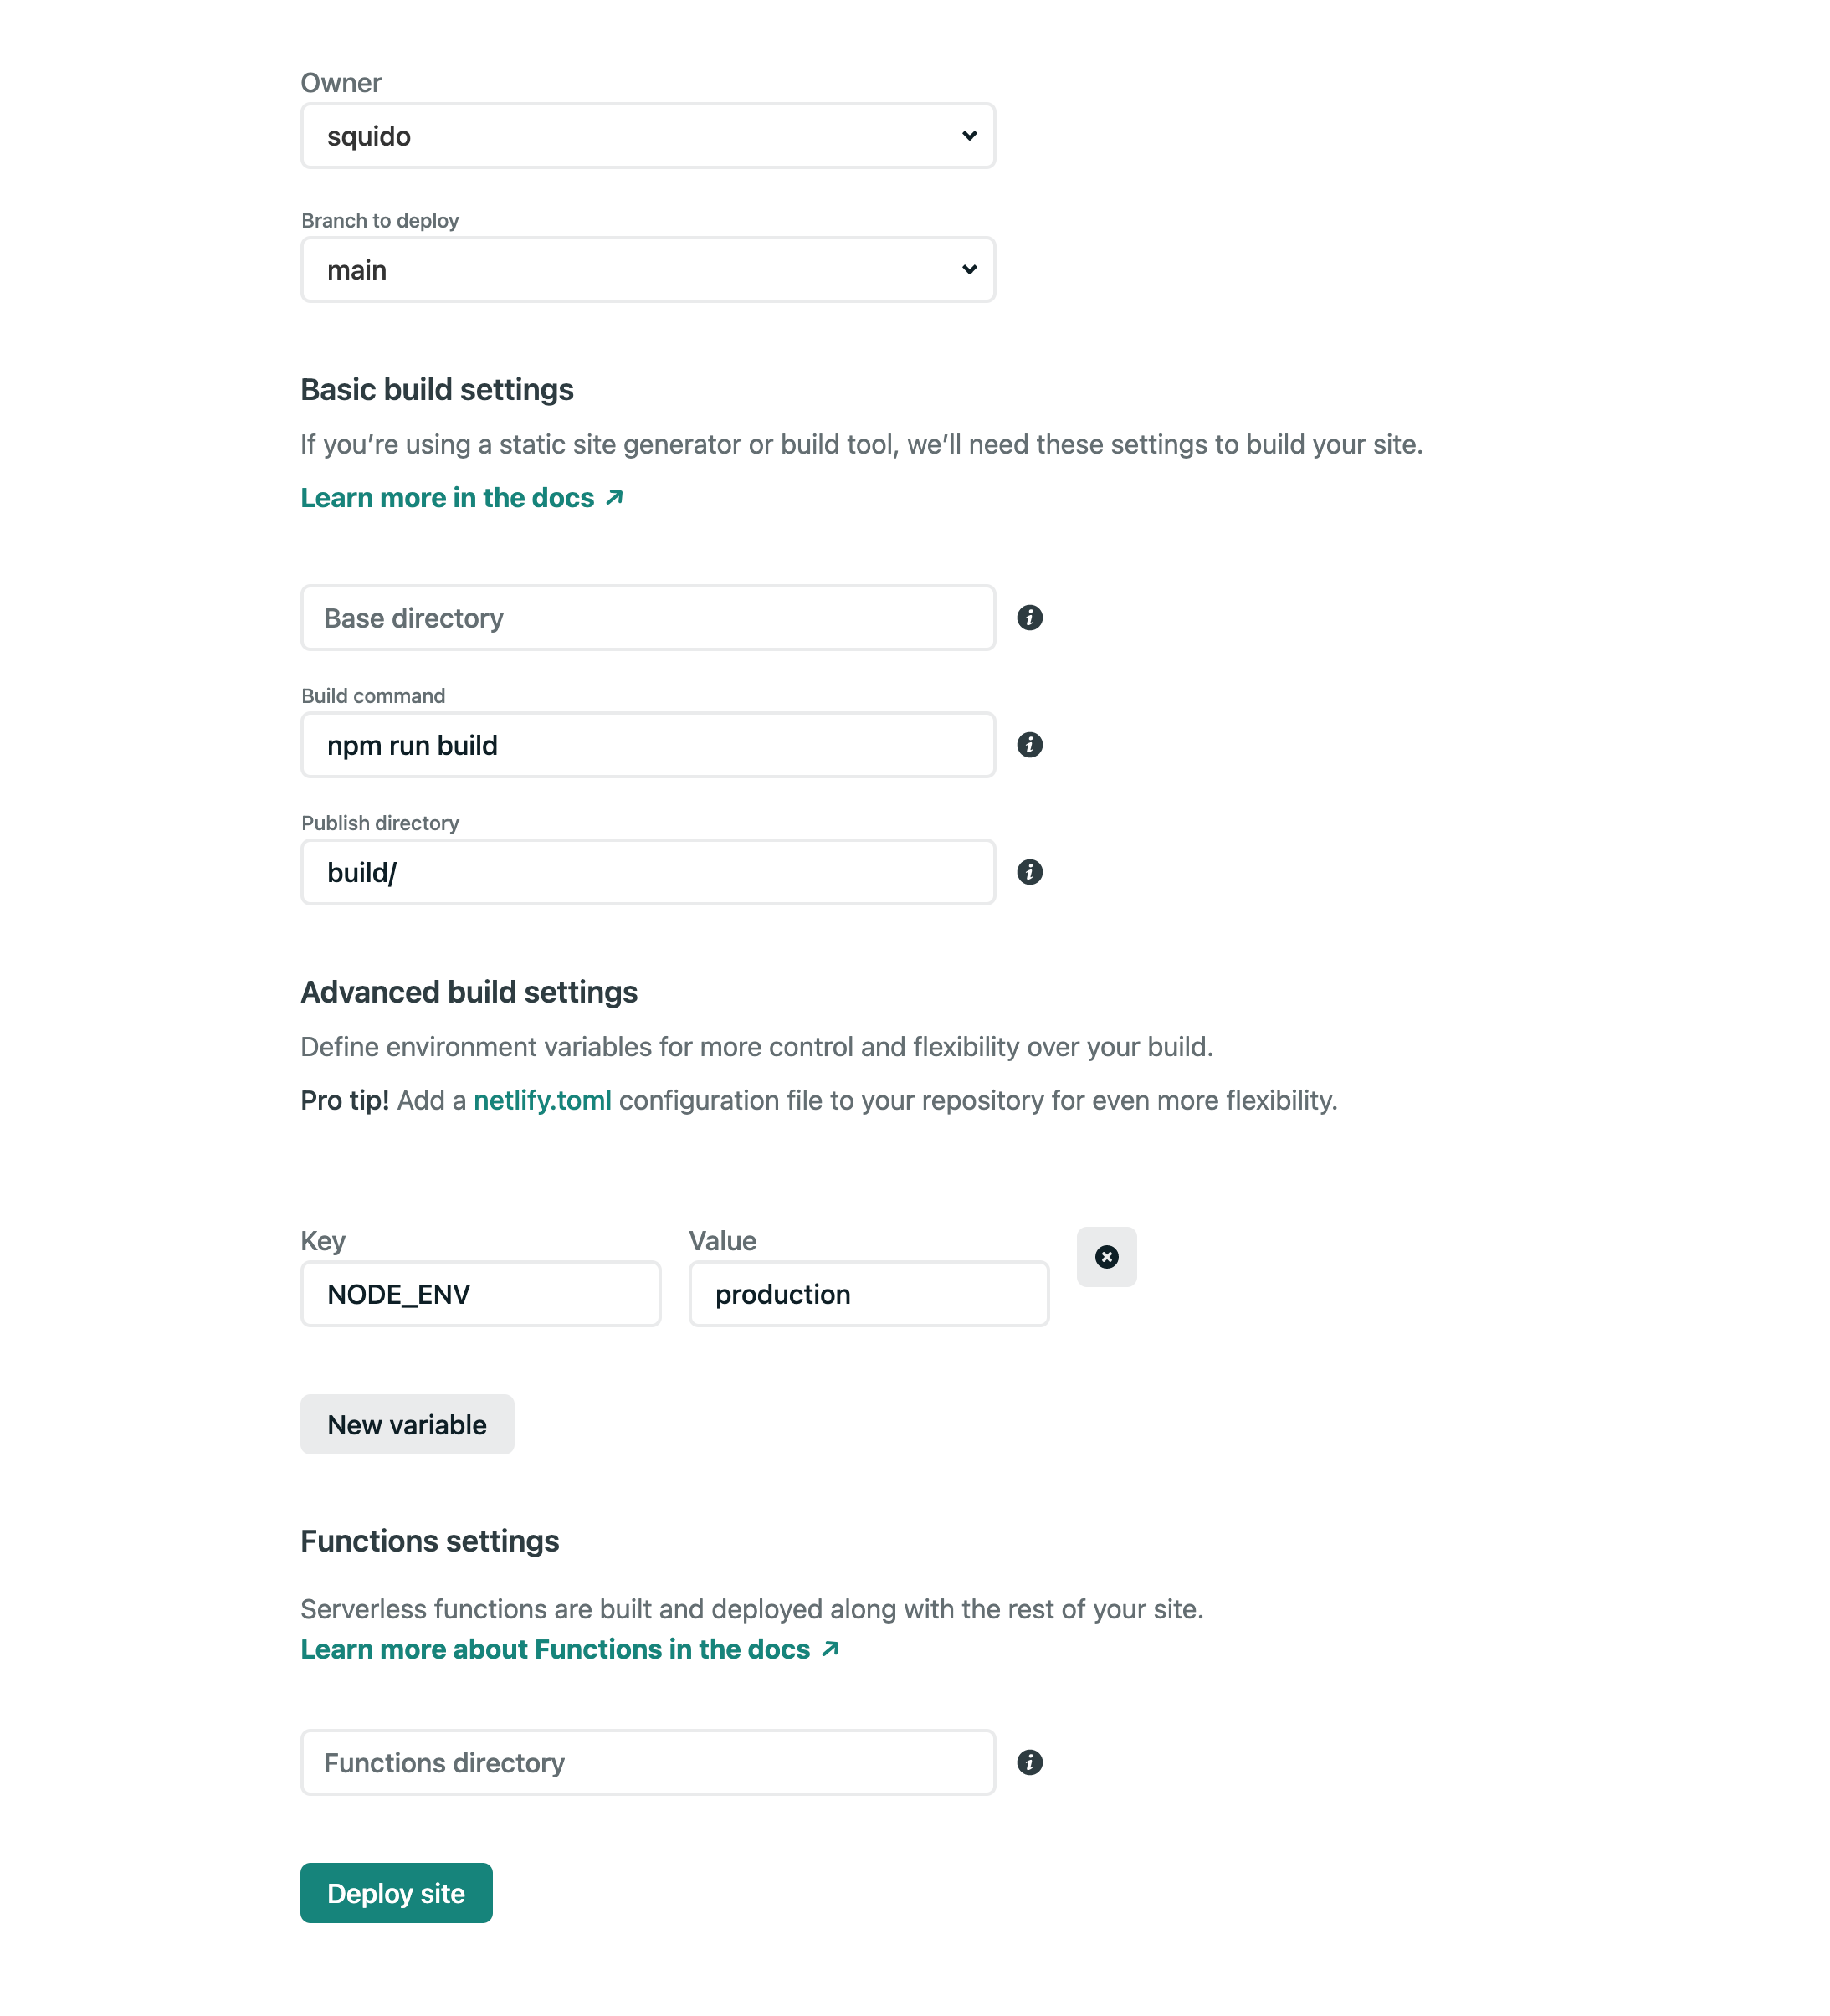
Select Github from the Continuous deployment section. Authorize Github, and select your my-blog repository. Change the Publish directory to /build. Click Advanced and set a new variable NODE_ENV to production. Finally, click the Deploy site button.
The result should look like this:
You will have to wait a few seconds to a minute for your blog to deploy. You can then view your blog by clicking the link:
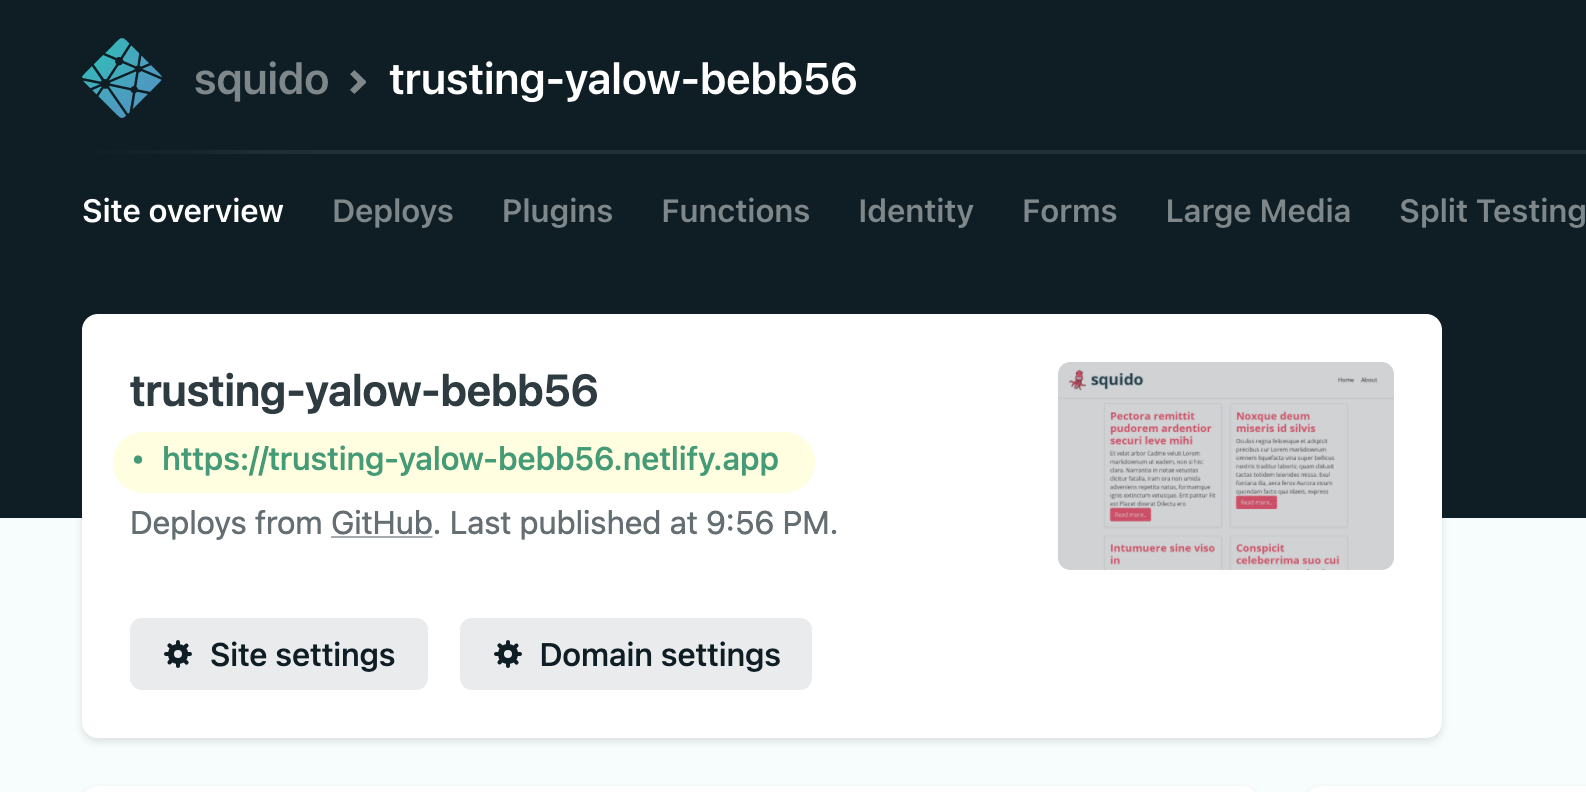
You can finish here. However, by clicking Domain settings you can set up your own custom domain you have purchased from a domain register.
Click Add custom domain and follow the steps to set up your DNS records to point to your new Netlify blog.
There are other deployment options on the squido documentation. There is also other help and guides on customizing your blog over on the squido documentation.
 squido blog